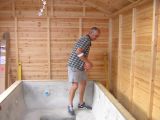
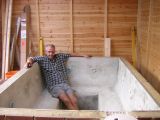
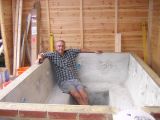
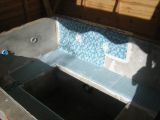
The build site was chosen because it had the best view of the whole garden. Also it was the furthest point from any of our neighbours' houses, which would minimise the noise levels for them. We decided that we wanted to build an enclosure around the tub so that we could use it in all weathers / seasons.
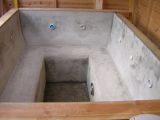
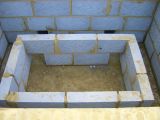
First we dug a hole in the ground. This measured 2200mm long x 1700mm wide x 500mm deep. We worked this out from the desired inner desired dimensions plus 2 widths of thermalite blocks (100mm) on both the width and length.
Once the hole was dug, we laid a plastic membrane in it, and filled it with 150mm of concrete. After the concrete had set (the next day) we began to build the outer wall.
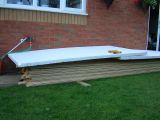
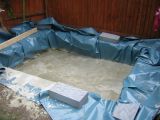
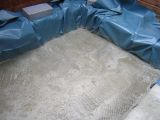
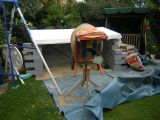
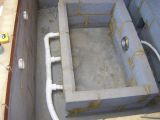
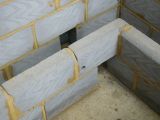
The main outer walls of the tub consisted of 4 courses of thermalite blocks followed by one course of regular bricks (we used regular bricks to bring us closer to our target height). The inner walls were 2 courses of thermalite bricks high, and these would act as the base for the seat. Ignore the gaps you can see in the photos at the base of the tub walls, as originally we thought we would need them for the drainage pipework, but we did it differently in the end.
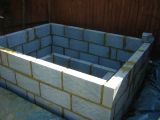
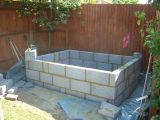
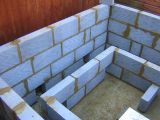
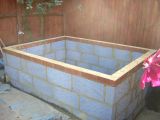
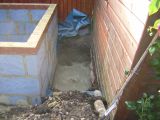
We then shuttered around the tub in line with our existing summer house structure to a thickness of approximately 150mm. This was filled with concrete to provide a floor around the outside of the hot tub. It would also act as a strengthening ring to counter the water pressure inside.
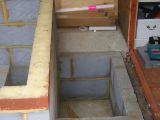
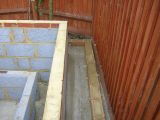
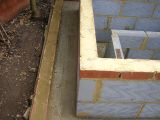
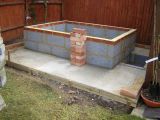
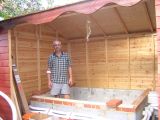
A course of engineering bricks was laid on the concrete base to support the timber enclosure that we were about to build. This course of bricks would stop any water penetration into the base of the timber, and keep any spilled water inside the tub area. We also put a DPC (damp proof course) on top of the bricks. A timber frame was then erected for both the walls and roof, and on to this we cladded the walls (both sides) with tongue and groove pine. Since we wanted the room to be as sound-proof as possible, we filled the wall cavities with polystyrene insulation.
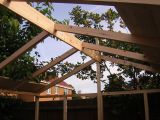
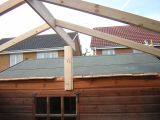
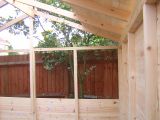
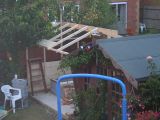
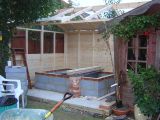
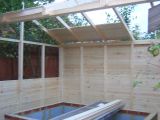
We wanted a double-glazed rooflight window in our hot tub room's roof to allow in as much natural light as possible, so the frame was built with this in mind. We also took this opportunity to run some low voltage lighting before we added the insulation and inner panels.
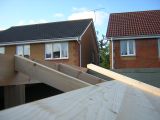
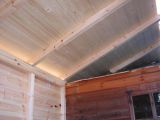
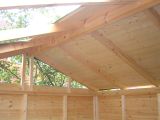
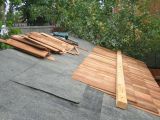
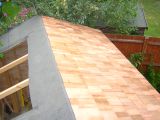
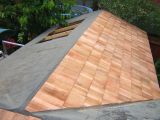
The roof was made in pretty much the same way as the walls, e.g. inner and outer tongue and groove pine paneling with insulation in the cavities. On top of the outer panels we laid some standard roofing felt, which would have been sufficient to waterproof the roof. However, we wanted our roof to look a bit better, and so we went out and bought some timber shingles.
Now, even the typical British weather couldn't stop us working!
We hired a bore cutter (core drill) in order to cut a hole into each wall. This was only fractionally larger than the 2.25 inch pipes that we had purchased to go through the wall and to connect to our jets. Once the holes were cut, we could insert our pipes into the walls and grout them into position (but don't grout the drain pipes yet, see further on). The pipes should be long enough so that the jet head and body can be added to each end, but make sure you allow for your rendering, and tile thickness.
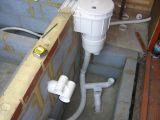
In a similar way, we added the skimmer to the outer wall, which was grouted into place. We made our grout with a strong mix of sand and cement (3 parts sand to 1 part cement).
The height of the skimmer determines your water level.
We also added a low voltage underwater multi-coloured light, which looks great at night.
Once all the tubes had been fixed into the walls, and the grout had set, we began work on plumbing the pipes together. There are two different sizes of pipes, one for air and one for water. Also, depending on the flexibility of pipes between joints, it might sometimes be easier to weld the pipes together before you grout the tubes in the wall (in our case we did this with the drains).
